
Just as some other “simple” things like setting translatesAutoresizingMaskIntoConstraints = false I often forget that UITableView’s footerView doesn't support Auto Layout out of the box as one would expect, and that one additional -not so intuitive- step is needed.
In this article, I want to write some notes about how to use a custom UIView as a footer with Auto Layout. I hope this will help someone out there trying to do this, I know it will help myself next time I need to use it.
Footers
In a UITableView we can use two different types: section footers and table footers. Here we will focus in the latter, footers that sit below all rows of the table view.
For our example we will create a very simple UITableView that will display names and locations of some Swift conferences. I won't go into detail about how to set up the UITableView, but you can find the code for this here.
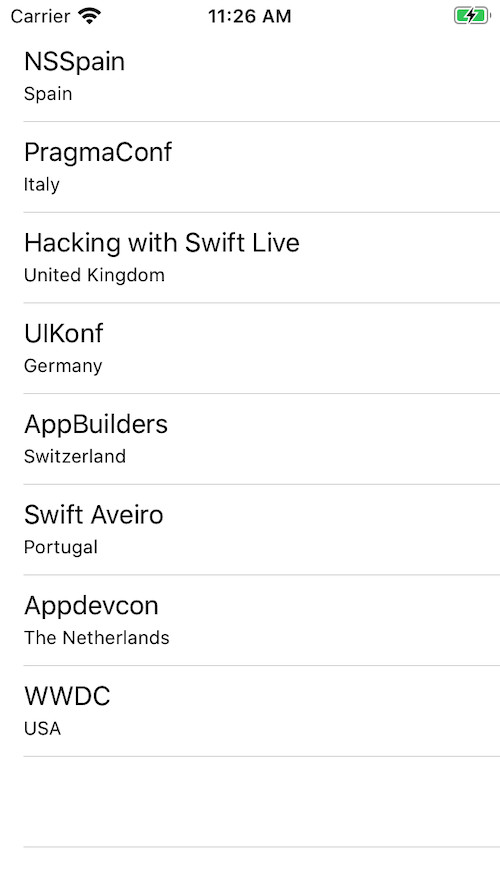
As a first step, we will create an empty UIView and set it as the tableFooterView in viewDidLoad():
		let footerView = UIView()
        footerView.backgroundColor = .systemBlue
        footerView.frame.size.height = 100
        self.tableView.tableFooterView = footerView
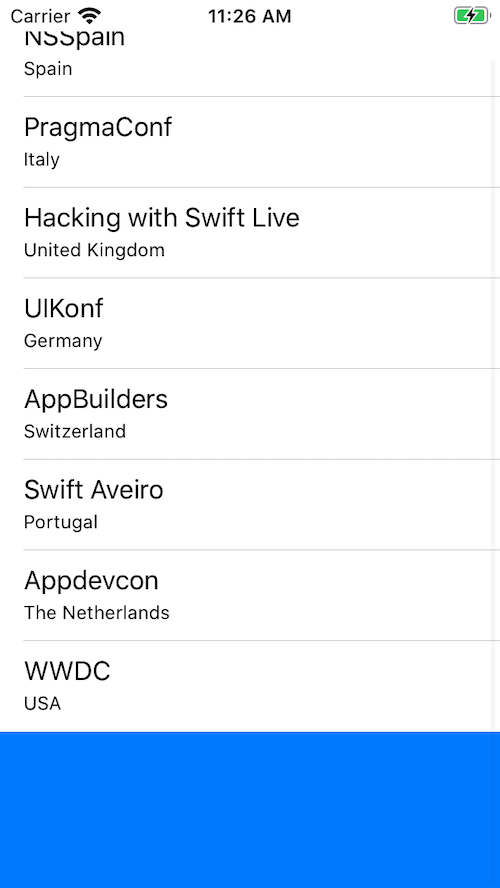
We run the app and we can see that we can see the blue footer, no problem. In this example, we are setting the height manually and the width is by default the same as the tableView’s width.
Using Auto Layout
Now lets try to use a custom UIView that contains a UILabel. This view will use Auto Layout so we expect that the Table View calculates the footer size dynamically. Let's replace the previous code with the following:
	let footerView = FooterView(text: "This is the text …
… so we rely Auto Layout to calculate the correct size.")
	self.tableView.tableFooterView = footerView

No footer.
Unfortunately, even if we are using Auto Layout and making sure we don't have any ambiguous constraints within theFooterView, the system can't correctly calculate its size so it has a height of 0. If we manually add a fixed size, we can see that the footer is displayed.
footerView.frame.size.height = 100
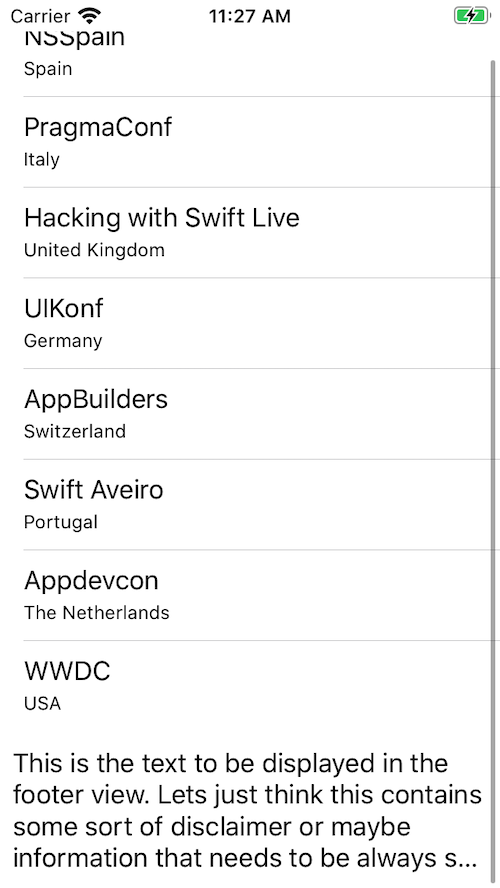
Although the footer is now displayed, we can see that since it is using a fixed size, the text is getting clipped. In order to appropriately support Auto Layout in our footer view, we need to do one more thing: help Auto Layout with the correct size calculation on viewDidLayoutSubviews()
The one more thing
First, we verify that the header actually exists
override func viewDidLayoutSubviews() {
	super.viewDidLayoutSubviews()
	guard let footerView = self.tableView.tableFooterView else {
		return
	}
Second, we capture the tableView's width and use it to calculate the footer's size.
	let width = self.tableView.bounds.size.width
	let size = footerView.systemLayoutSizeFitting(CGSize(width: width, height: UIView.layoutFittingCompressedSize.height))
And third, we use the calculated height for the footer. One detail here is that we need to make sure we only do this when this value actually changes, otherwise we would trigger a new layout cycle every time we set this value.
	if footerView.frame.size.height != size.height {
		footerView.frame.size.height = size.height
		self.tableView.tableFooterView = footerView
	}
}
We now run the app and check
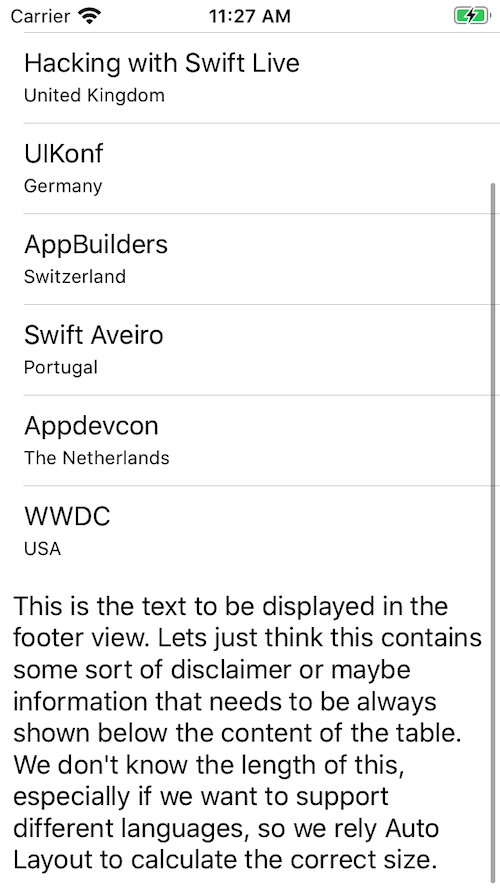
Finally, Auto Layout is happy and is able to use the appropriate size for the footer and we get to see the footer without any clipping in the text.
Summary
In this article, we’ve seen how to use Auto Layout in a table view footer by helping the Auto Layout engine with the calculation using a simple workaround.
Find the sample code in this article on GitHub.